

How to Replace an Outdoor Faucet
With spring just around the corner, many homeowners begin their annual spring cleaning—outdoor faucet replacements being a common project. Replacing an outdoor faucet is relatively simple, but there are important elements to keep in mind in order to complete the install correctly.
What do I need?
Depending on your plumbing setup, you may need specific tools to complete the install.
Tools & Materials
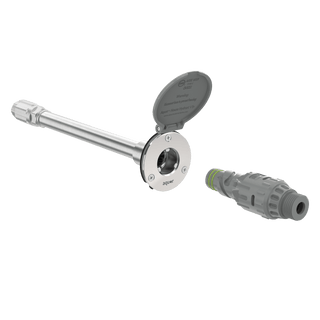
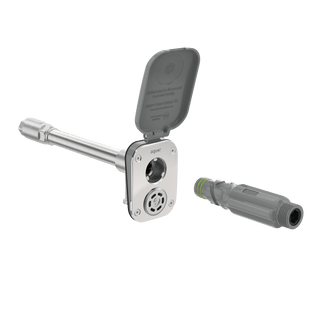
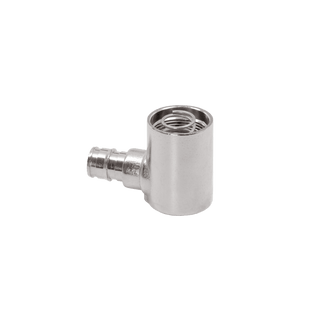
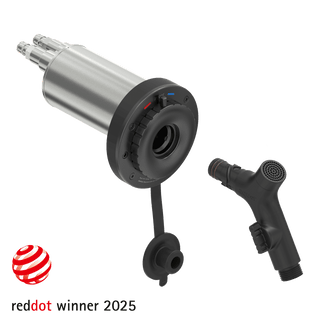
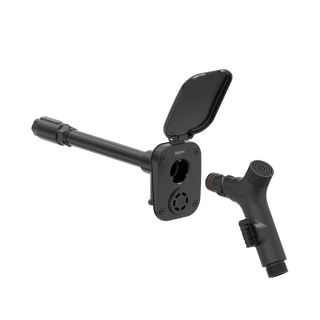
- Frost-free outdoor faucet (and mounting solution if applicable)
- Pipe cutter
- Phillips driver
- 1.5" hole saw
- Power drill
- ⅛” drill bit
- Caulk
- Masonry screws (if installing into masonry siding)
- Proper plumbing fitting or adapter (dependent on piping and connection type)
- Plumber’s tape / Teflon tape
- 2 pipe wrenches
- PEX crimp tool with rings or expansion tool (if using PEX piping)
- Solder and soldering torch (if using copper piping)
- Tape measure
How to Replace your Outdoor Faucet
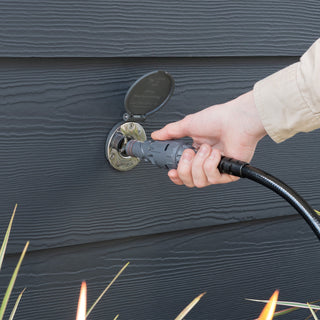
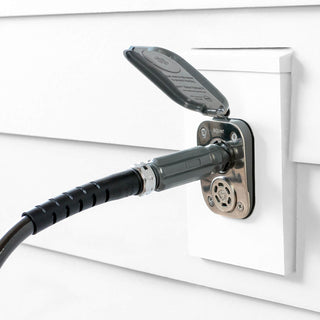
If you prefer a visual step-by-step process, view our 3-minute video on How to Replace an Existing Outdoor Faucet with an Aquor House Hydrant.
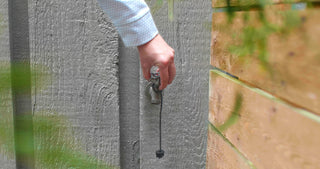
Step 1: Locate shutoff valve and stop water flow to the outdoor faucet
The first step is to shut off the water to the outdoor faucet. Check to see if there is a shut-off valve in the piping that runs to the outdoor faucet. If you don't see a shut-off valve there, then you may need to look for the main water shut-off to temporarily cut water to your home. The primary shut-off valve can usually be found in a crawl space or basement. 
If you do not have a basement or crawl space, check inside closets or pantries near the side of the home facing the street. There may also be a primary shut-off valve located in the driveway, usually housed inside a panel on the ground. After you shut off the water supply, be sure to drain any residual water that may be left in the plumbing by turning the outdoor faucet on.
Step 2: Cut the piping back behind the outdoor faucet 
After you turn your water off and drain the faucet, cut the piping back a couple of inches behind the faucet. Keep in mind that some water may drain out of the cut pipe—place a bucket underneath to collect potential drips. If you have copper pipes, using a metal pipe cutter will easily do the job. Simply clamp the pipe cutter around the pipe and turn the tool to cut. PEX can also be cut with a pipe cutter or a specific PEX pipe cutting tool.
Once the pipe has been cut, the outdoor faucet will be completely disconnected from the plumbing.
Step 3: Remove the existing outdoor faucet and test fit
After cutting the indoor piping, go outside to remove the existing outdoor faucet. Unscrew the faucet from the siding and slide the hydrant right out of the wall.
Replace the old faucet with the new unit by sliding the new faucet into place, then test the fit to make sure you have the correct size. Depending on which type of outdoor faucet you have, you may need to enlarge the entry hole to properly fit the hydrant into the wall.
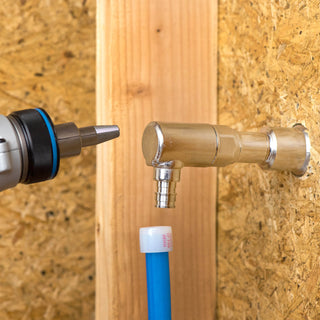
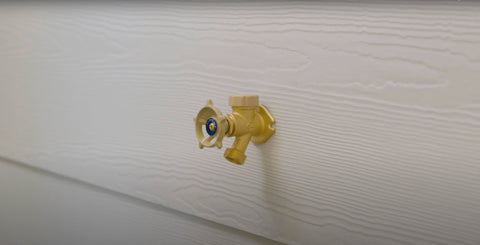
Step 4: Install the new outdoor faucet
Once you verify the fit, mark the siding where the screws will go into the wall using a pencil or pen. Drill pilot holes where you marked. If you are using a mounting solution, such as a mounting plate or block, make sure to drill pilot holes for that as well.

Depending on the mounting situation and your siding, you may need to apply caulk in/around the entry hole to create an air-tight seal. Once the caulking is complete, if applicable, screw on the mounting solution followed by the outdoor faucet. If you do not have a mounting solution, proceed with securing the outdoor faucet to the siding. 
Step 5: Connect the outdoor faucet to the plumbing
When the outdoor faucet is secured to the siding, go back inside to connect the faucet to the plumbing line. This step will vary depending on the type of pipes in your home.
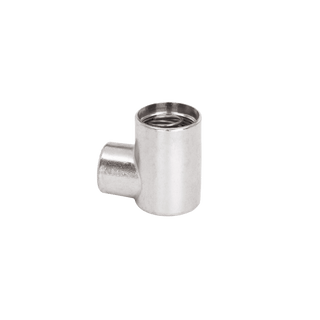
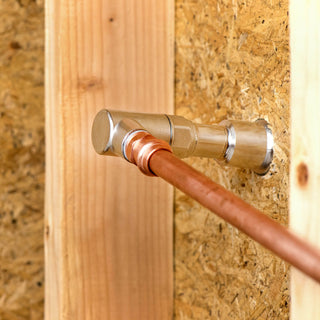
Copper: Making a connection to copper will require an adapter, and potentially soldering. First, use a tape measure to determine how much copper piping you will need to fill the gap between the adapter and your plumbing, if any. Attach the adapter to the inlet, then secure the copper piping to the adapter. 

We recommend using plumbers tape on the threads of the adapter when connecting to the inlet for a water-tight threaded seal. There are several adapters available that you can use, such as a SharkBite adapter for easy push connections. 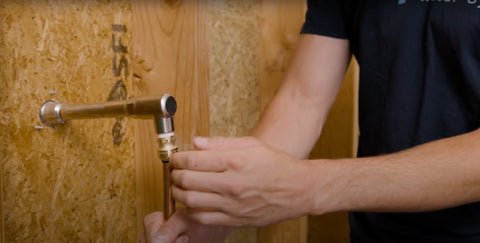
Once this step is done, you can connect the copper pipes by soldering them together to fill any gaps.
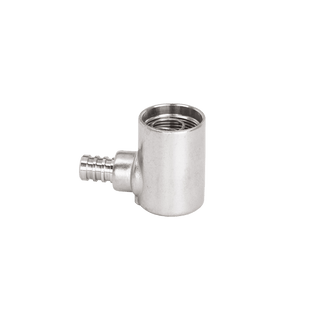
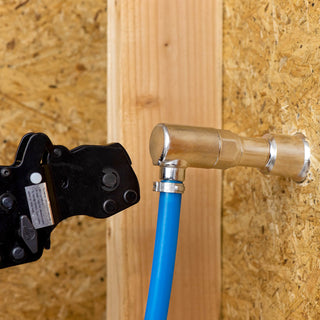
PEX: Making a connection to PEX will require an adapter and a tool specific for PEX connections. If you are using a crimp connection, you will need a crimp ring and crimp tool. 
If you are using a PEX expansion connection, you will need an expansion tool. Depending on the outdoor faucet inlet, you may or may not need a PEX adapter. If the included inlet does not already accommodate PEX connections, apply plumbers tape to the adapter threads then thread the adapter onto the faucet’s inlet. Next, attach the PEX to the adapter to complete the connection. If you have to cut more PEX to close the gap, you may need PEX-specific parts to make PEX-to-PEX connections.
Learn more about Types of PEX and Ways to Connect.
Step 6: Test the outdoor faucet and check for leaks 
Once the installation is complete, turn the water supply back on to allow water to flow through. Turn the outdoor faucet on for 5-10 minutes, checking for possible leaks out of connection points. If there are no leaks, then you are good to go!