


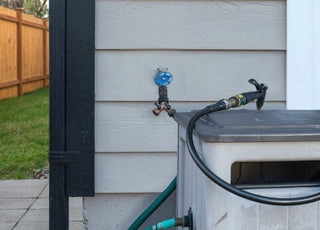
Where Does Your Outdoor Faucet Connect to Your Plumbing?
Replacing outdoor faucets is a common home maintenance task. Luckily, it’s typically a fairly easy project. Roof replacement? Not so much. With some preparation and know-how, homeowners can replace their outdoor faucets in just an hour or two depending on the existing setup.
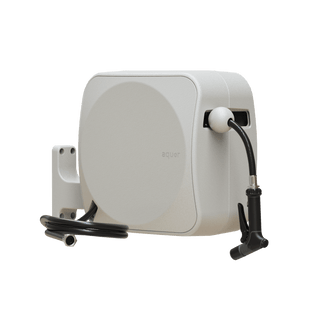
Learn how to replace your outdoor faucet here.
Finding Where Your Outdoor Faucet Connects to Your Plumbing
First, figure out where your existing outdoor faucet is located on the exterior of your home. You can use a measuring tape to see how far up from the ground the faucet is located. If the interior of your home is raised from the ground, don’t forget to take this into consideration.
Go inside and find the area where your outdoor faucet lines up, essentially look for the “other side” of the faucet. This will either be within the drywall or in an open area such as a garage, crawl space or basement.
If the back end of your hydrant is located in an open area, you should have direct access to the plumbing without needing to cut into walls.
If the plumbing connected to the hose bib is inside a wall, then you will need to cut into the drywall to access the plumbing—unless you have an access panel in place. Try to pinpoint where your bib is located from the interior side based on where it sits on the exterior. You can use the measurement you took outside to help narrow down where the faucet is located.
Once you figure out where your outdoor faucet connects to the plumbing you can continue with your installation. Don’t forget to determine the outdoor faucet size!


