

What's an Access Panel & How to Install One

An access panel is a door that provides easy access to plumbing, electrical, or HVAC (heating, ventilation, and air conditioning) systems, as well as other components concealed behind walls, ceilings, or floors.
They are commonly used in residential, commercial, and industrial settings to facilitate maintenance, repairs, or inspections without the need to damage the surrounding structures. In other words, these little, convenient doors make it possible to easily get to plumbing and wires within walls without having to cut into the building itself—we highly recommend! Especially if the elements you need to inspect or work on are not located in an open area, like a basement, crawl space, or garage.
Let's get started!
Choose the Location
Determine the best location for the access panel, keeping in mind where you need to reach pipes, wires, or other systems.
Measure and Mark
Measure the dimensions of the access panel and mark these dimensions on the surface where you plan to install it. Use a level to ensure that the lines are straight. Do not cut too generous of an opening, as you may not be able to properly secure your panel to the siding.
Cut an Opening
Use a keyhole saw, reciprocating saw, or another appropriate tool to carefully cut along the marked lines to create the opening for the access panel. Be cautious of pipes or wires hidden behind the surface.
Attach the Frame
Depending on the type of access panel you have, you may need to attach a frame to the edges of the opening. This frame provides support for the panel and ensures a secure fit.
Install the Access Panel
Place the access panel into the opening and secure it in place according to the manufacturer's instructions. This may involve screws, clips, or other fasteners provided with the panel.
Finishing Touches
If necessary, apply caulk or sealant around the edges of the access panel to create a tight seal and prevent drafts or moisture from seeping through.
Test
Once the access panel is installed, test it to ensure that it opens and closes smoothly and provides adequate access to the systems behind it.
It's important to follow specific instructions provided by the manufacturer of the access panel you're installing, as different panels may have different installation requirements. Take necessary safety precautions, such as wearing protective eyewear and gloves, when cutting into walls or ceilings. If you're unsure about any aspect of the installation process, it's always a good idea to consult with a professional contractor or handyman.
Examples
Here's a cool access panel Aquor partner Matt Risinger installed on his ceiling. And here's a sweet flush door Vancouver Carpenter incorporated into this home. Looking for the basics? Check out Inspect Canada's video!
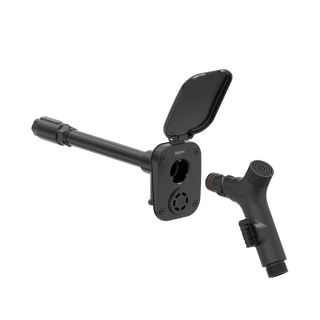
The access panel pictured above is created by Fittes.