


Project Highlights: Copper Plumbing V1+ Retrofit Install in Lynnwood
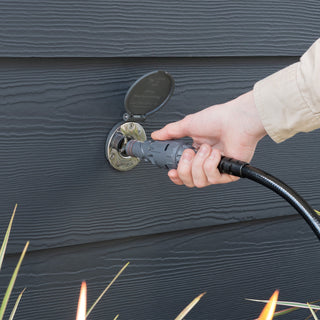
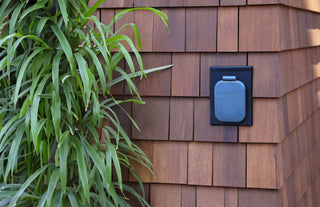
Aquor recently installed the V1+ hydrant on a cedar lap siding home in Lynnwood, Washington.
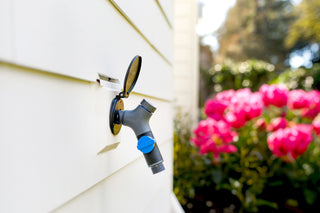
The copper plumbing was easy to access in the garage, making the retrofit install a snap with copper press fittings and a manual press tool. No soldering required!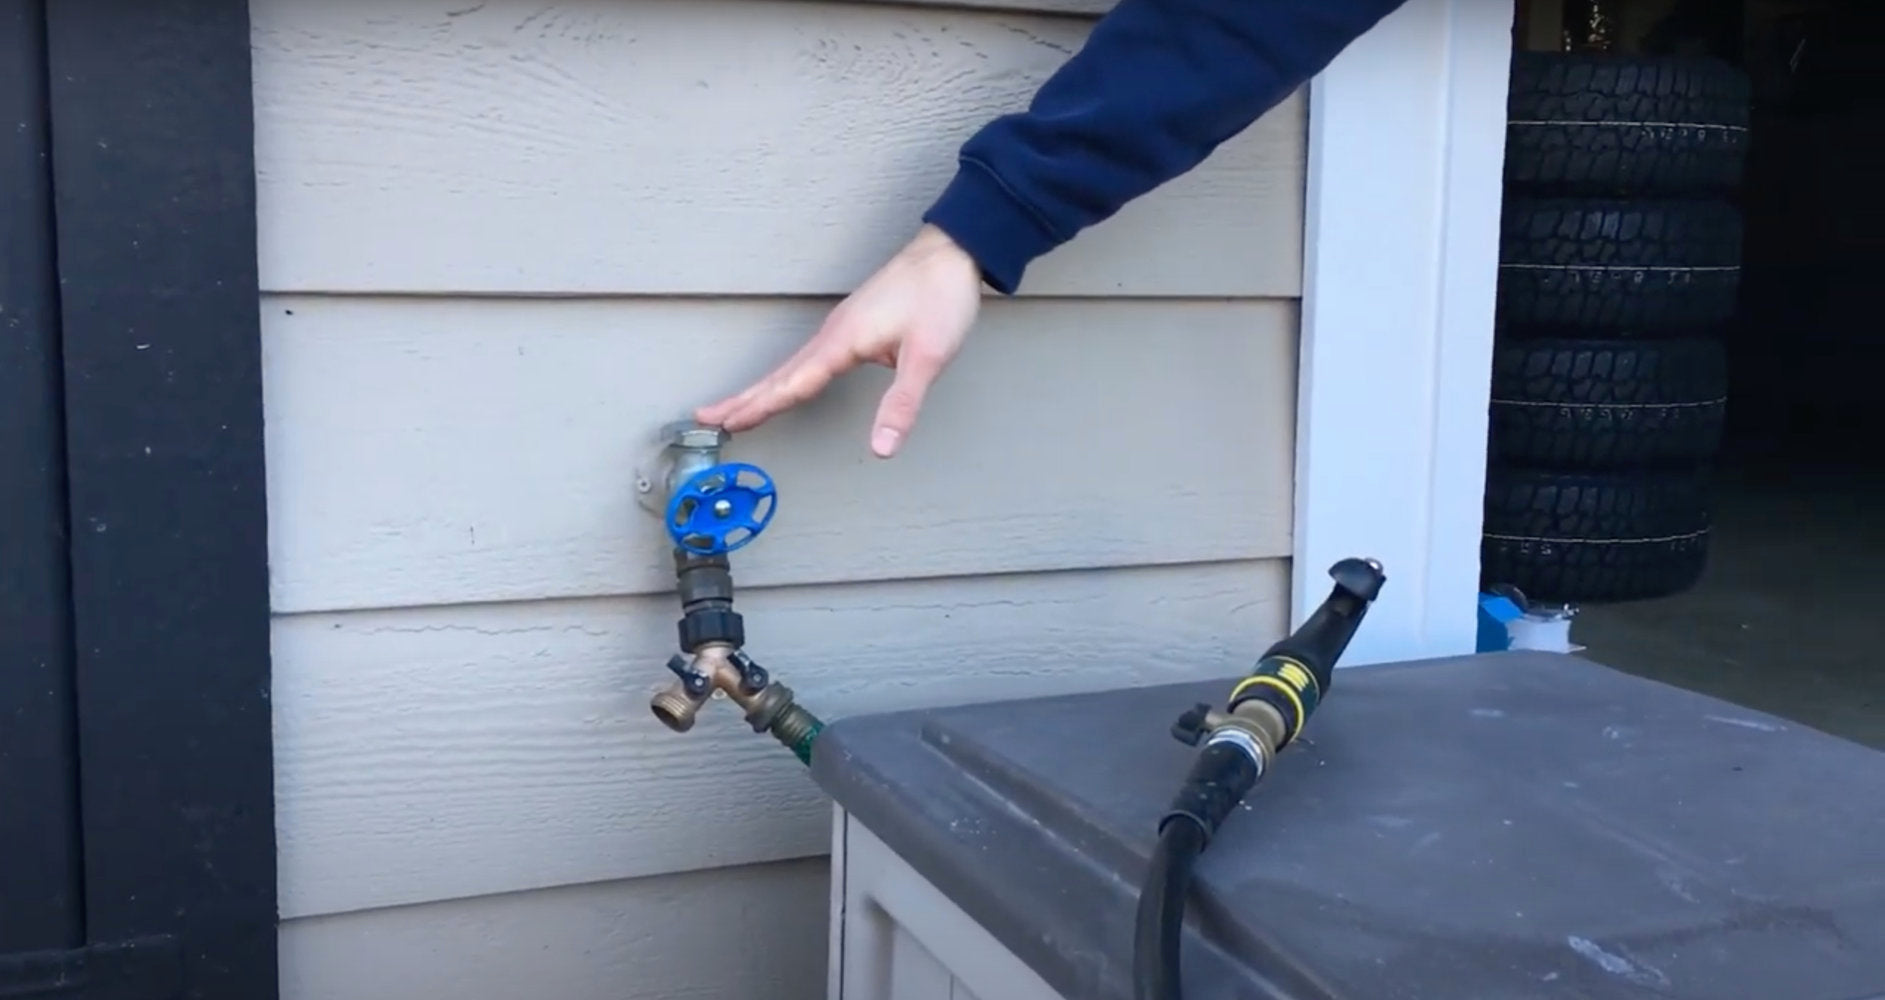 The old hose bib setup.
First, the water was turned off via the shutoff valve in the garage. Turning the water off.
Then the water was drained from the line.  Draining the water line.
The supply line was cut with copper pipe cutters so that the existing hose bib could be removed.
 Cutting the current plumbing to free the old hose bib.
The screws holding the old hose bib were removed, then the hose bib was pulled out.
 Unscrewing the old hose bib.
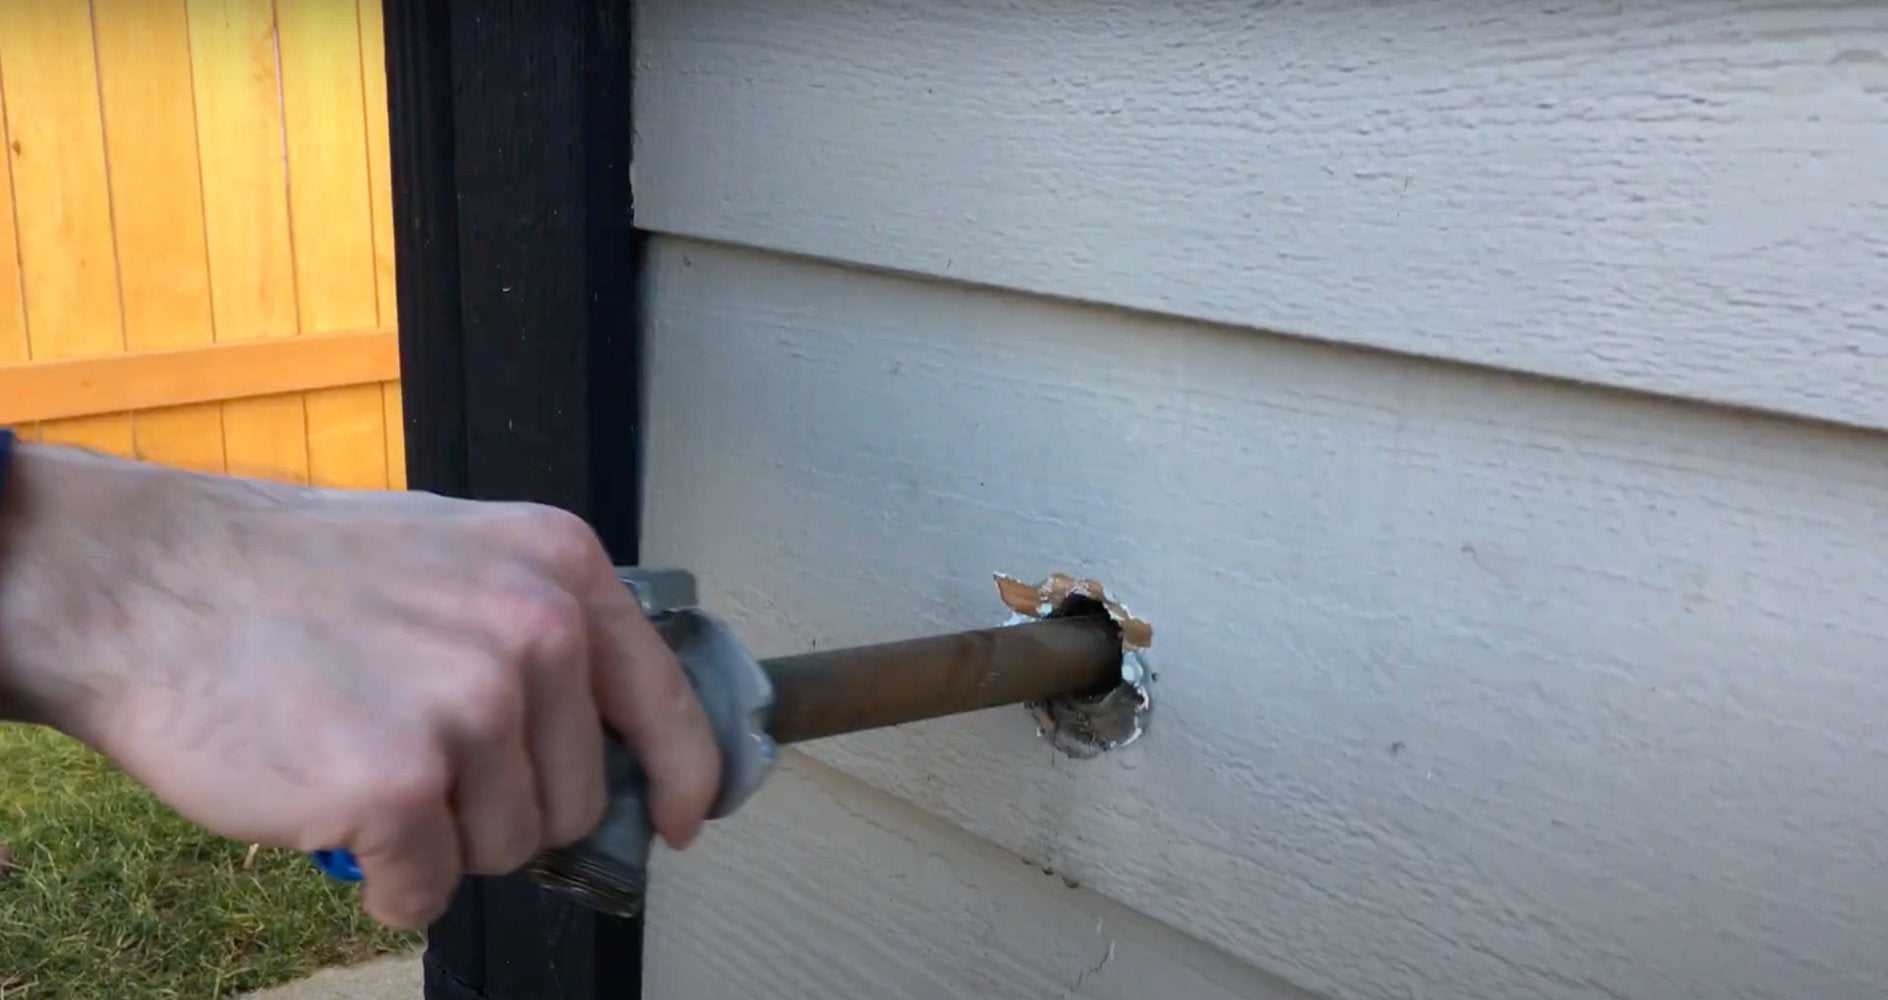 Pulling out the old hose bib.
A 1-1/2″ hole saw was used to enlarge the existing hose bib entry hole for the V1+ Hydrant. Preparing the entry hole for the new Hydrant.
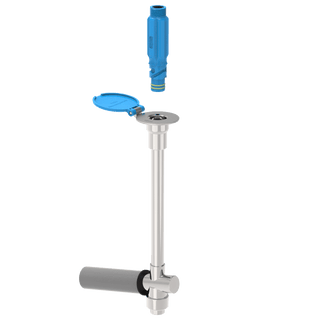
The plastic gray cover was used for a test fit, before installing the final matte black stainless Hydrant cover. Securing the gray cover for a test fit.
The back end of the Hydrant was screwed off so that the fitting could easily be attached.
 Removing the back end of the Hydrant.
Teflon tapped was wrapped around a 1/2″ copper press fitting, before screwing the fitting into the inlet of the Hydrant.
 Wrapping teflon tape around the fitting.
 Securing the fitting onto the end of the Hydrant.
 Ready to thread back onto the Hydrant body.
The back end of the Hydrant with the copper fitting attached could then be threaded onto the Hydrant. Hand tight is sufficient.
 The back end of the Hydrant with the fitting.
A 1/2″ x 3/4″ copper press coupling was attached to the existing copper plumbing.
 Both fittings are in place.
Then a length of new copper piping was cut to size.
 Cutting copper piping.
 Checking the new copper pipe length.
 The Hydrant was pulled a couple inches out of the wall in order for the matte black cover to be swapped in.
 Sliding the black cover behind the Hydrant faceplate.
Then the new piece of copper piping was slipped into the two fittings.
 Test fitting the new copper piping.
Before pressing the fittings securely with the press tool, the Hydrant was screwed into place.
The press tool could then make the connection permanent. Getting ready to press the fitting for a secure connection.
 Pressing the copper fitting into place.
Time to turn on the water and check for leaks. Looking good!
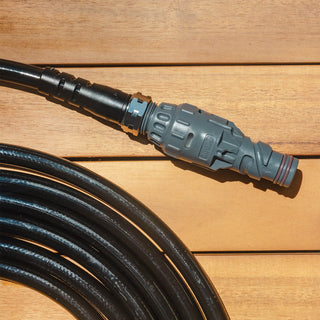
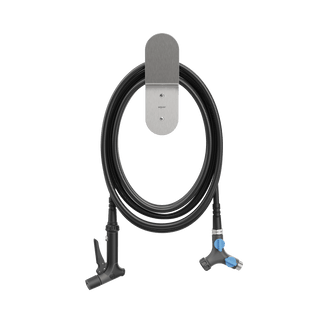
 Water access made easy.
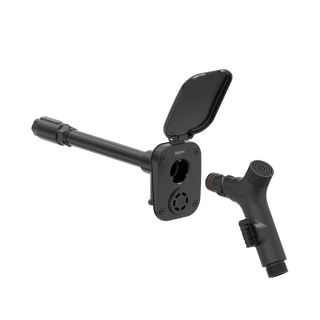
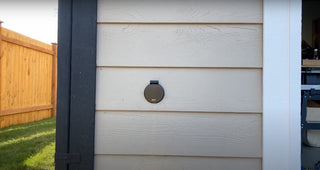
The new V1+ Hydrant is functioning properly, automatically draining and winterizing upon disconnection.
 Now that’s an upgrade.
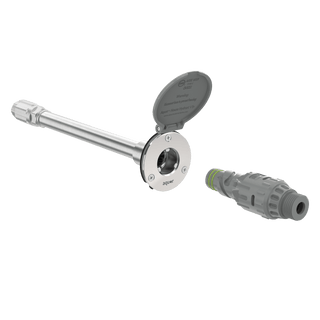
Materials and tools shown in this video:
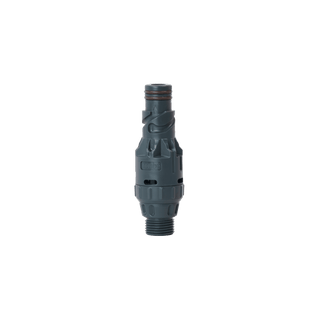
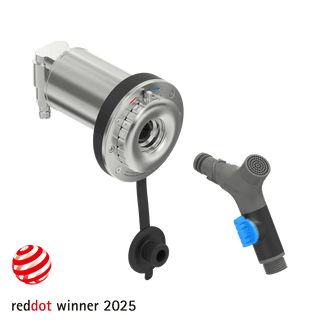
- Aquor V1+ Frost-Free Wall Hydrant in Slate Gray
- Aquor V1+ Matte Black Hydrant Cover
- 1/2″ copper pipe (https://amzn.to/3hOem45)
- 1/2″ copper press fittings (https://amzn.to/3q04JSz)
- 1/2″ x 3/4″ copper fitting (https://amzn.to/38isob8)
- Teflon tape (https://amzn.to/3s1zite)
- Copper pipe cutter (https://amzn.to/3pVcnOb)
- Pipe wrenches (https://amzn.to/3nkYRBK)
- Manual copper press tool (https://amzn.to/3hP2wXj)
- Drill (https://amzn.to/2L9J7o3)
- 1-1/2″ Hole Saw (https://amzn.to/2L0uJPf)
- Philips bit (https://amzn.to/3omZhsN)
- 3/32″ drill bit (https://amzn.to/3opHyAM)
 Materials and tools used for the install.