







How to Winterize Your Sprinkler System

Winterizing your home’s sprinkler system helps prevent frozen pipes and costly repairs when temperatures drop.
The goal is to remove as much water as possible from the irrigation lines and protect exposed components before the first freeze hits.
The best strategy will depend on your sprinkler system and climate. Here’s a general step-by-step guide that should help get you started.
1. Turn off the sprinkler system's water supply
Locate the main shut-off valve for your irrigation system. It's usually near the water meter or backflow prevention assembly. Turn it off to prevent more water from entering the system.
2. Shut down the sprinkler controller
If you have an automatic sprinkler system, switch the controller to rain mode or winter/off mode to end scheduled watering.
Check the manufacturer's instructions before unplugging the controller. Some systems are designed to remain powered during colder months.
3. Drain the irrigation lines
There are three common ways to remove water from sprinkler lines:
Manual drain
If your system has manual drain valves, open them at the ends and low points of the irrigation lines to let the water out. Close the valves according to your system's winterization instructions.
Automatic drain
Some systems have automatic drain valves that release water when the pressure drops. Shut off the water and briefly run a sprinkler zone to relieve pressure and activate the drains.
Compressed-air blowout
A professional connects an air compressor to the irrigation system and uses compressed air to force remaining water out through the sprinkler heads. This is common in colder climates where underground lines may freeze.
Blowing out a sprinkler system with compressed air can cause injury or damage if done incorrectly. Pressure requirements vary by pipe material and system design. Some backflow preventers, including pressure vacuum breakers and reduced-pressure assemblies, must never be blown out with compressed air. If you're unfamiliar with the process, hire an irrigation professional.
Many landscaping companies offer seasonal sprinkler blowouts as part of their autumn property maintenance services, while dedicated repair and installation contractors focus on water management, backflow testing, and winterization. Some licensed plumbers take on winterization jobs, especially when the systems ties directing to the main home plumbing or requires backflow device servicing.
4. Protect the backflow preventer and exposed pipes
Backflow preventers, valves, and exposed pipes are particularly vulnerable to freezing temperatures.
Drain the backflow assembly according to the manufacturer's instructions, then insulate exposed pipes and valves. Use an appropriate insulated cover for above-ground backflow equipment, making sure the insulation does not block drain outlets or air vents. If your system has a pump, drain and protect it according to the manufacturer's instructions.
5. Store removable irrigation equipment
Disconnect and drain garden hoses, hose-end timers, filters, pressure regulators, and other removable watering accessories. Store them somewhere dry and protected from freezing temperatures—an insulated garage or inside your home are great options.
6. Check your system before spring
When freezing temperatures end for the season, close drain valves, restore the backflow assembly to its operating position, and slowly turn the water supply back on. Check for leaks, cracked pipes, damaged sprinkler heads, and clogged nozzles before restarting your watering routine.
Don't wait until freezing temperatures are in the forecast. Schedule winterization after you've finished watering for the season and before the first hard freeze.
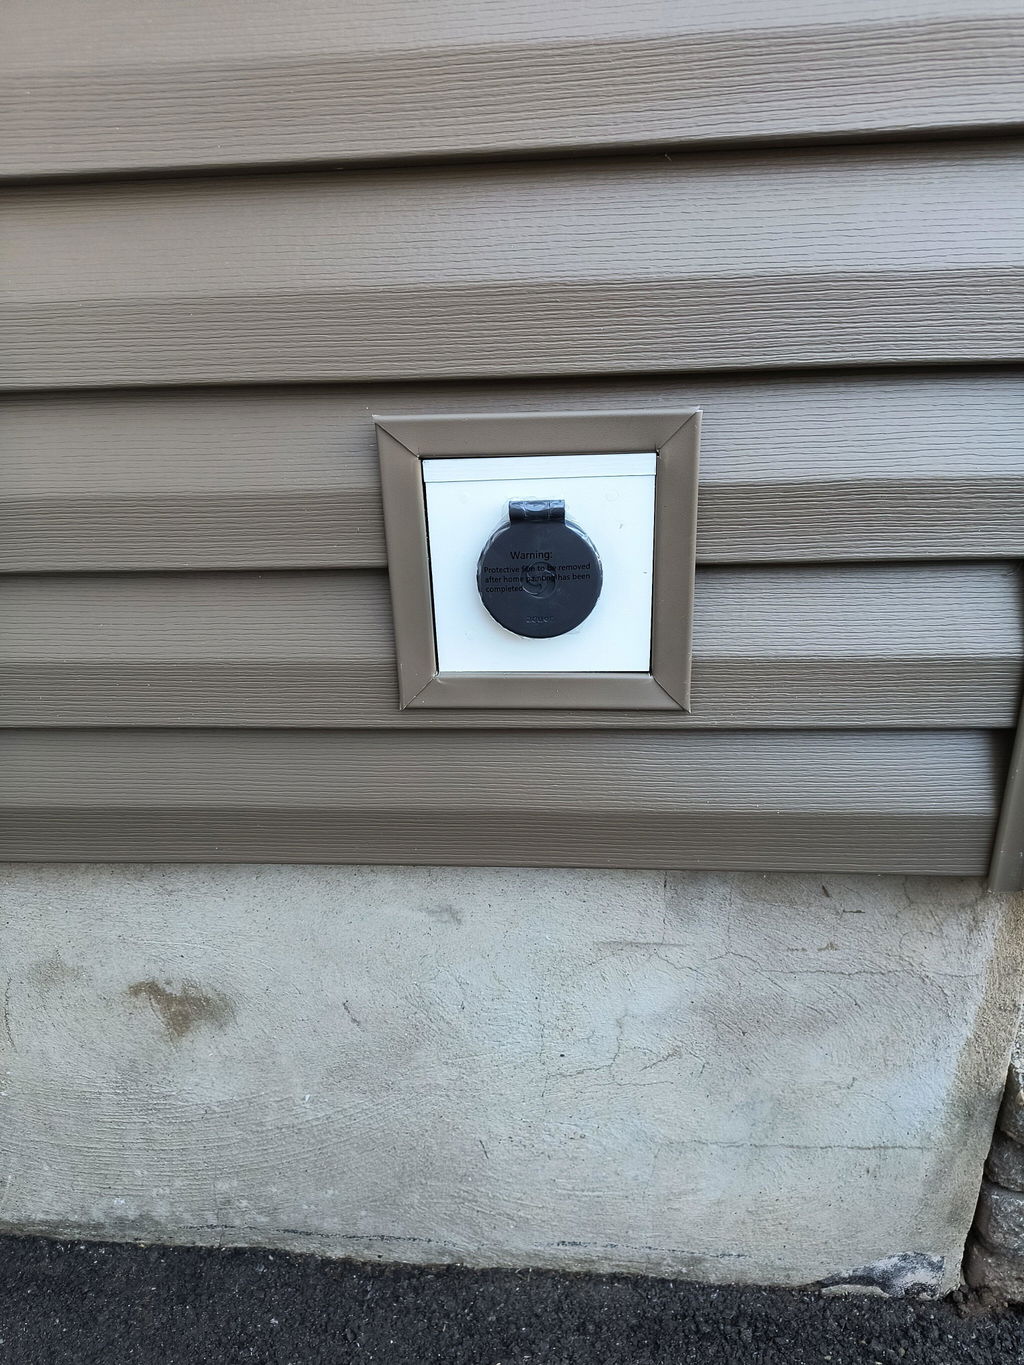
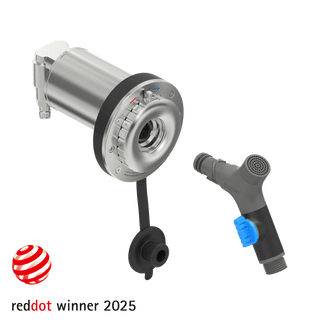
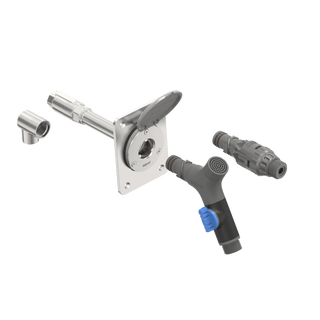
Interested in quick-connect frost-free outdoor faucets for your home? Aquor's House Hydrants are your best bet! They automatically drain and winterize upon winterization. No foam covers, no hassle.